At least my mom is the best. She could write a manual on how to be the best, most awesome, understanding, self-less mom ever. I'm not exaggerating. If you've met my mom you know she's awesome. If you haven't met my mom - you really should. Your life will be better with her in it. I guarantee it.
After the wedding we left for the honeymoon and I haven't spent QT with her since. Last week she came to AZ to spend time with us and it was SO wonderful having her here. Life is better with my mom around.
I love starting projects but sometimes I have a hard time finishing them. Short attention span. I knew my mom would encourage me to finish what I started. Plus she is the best project assistant.
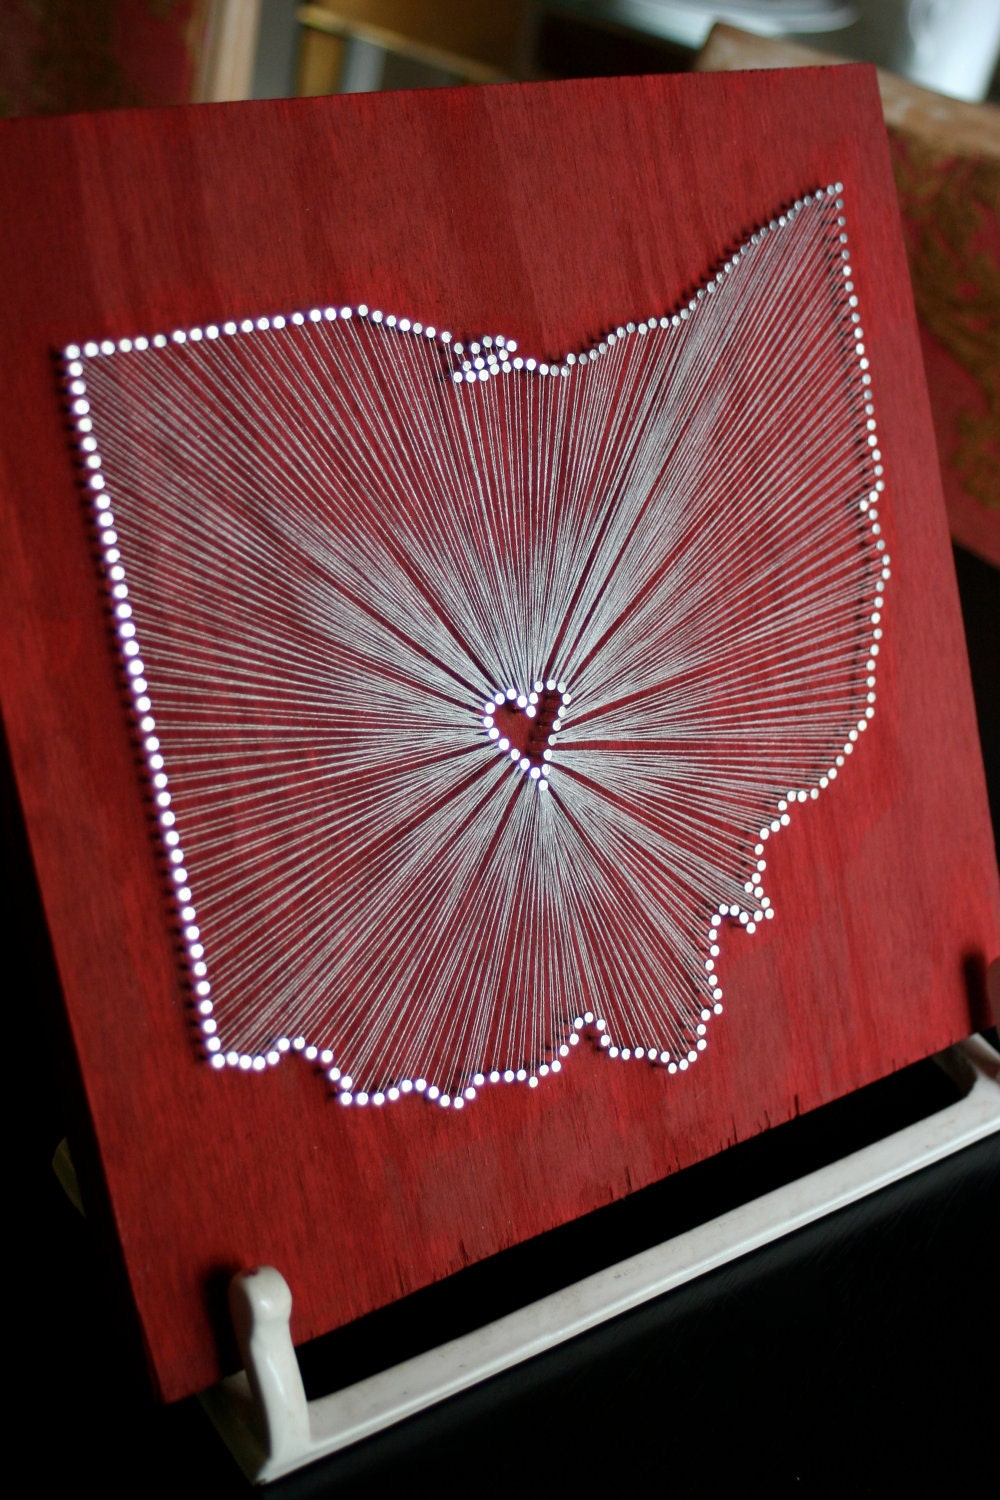
I saw this on Pintrest and loved the idea.
This concept is an original idea made by the very talented Eleanor Mathis who owns the shop
Curiously Wrought on Etsy. I saw someone DIY this as a pintrest challenge. So I gave it a try, too. Again, not my original idea. The original art made by Eleanor Mathis is perfect and wonderful and I highly encourage you to check out her shop.
I love these because they say "home is where the heart is." I wanted to make three of these. 24" x 24" each. Oregon, Washington, and Arizona. I want them to go in our entryway. I want them to hang all in a row. With a long floating shelf underneath. So I can put pictures from each of our home cities on it. I also want to put hooks under the self. And a shoe cubby on the floor. And maybe a plant on one side of the shoe cubby. I'm getting sidetracked.
Here is how I did it:
 |
| The picture in the middle is a quick sketch of the end plan for the project. |
 |
For this project you will need
- 3 wooden boards (any size you like).
- String
- Paint (for the board and nails - optional)
-Paint brushes
- In this picture you see tacks but I ended up using nails that I got at HomeDepot
- Hammer
- Ruler
- Pen/Pencil/Marker/Crayon |
 |
| Lay out plastic and start painting. I wanted the paint to have some depth so first I put down a cream color nice and heavy. |
 |
| I used a blow dryer to speed up the drying process. |
 |
| Then I added a honey-brown color. |
 |
| I left it patchy on purpose so the reds would show up lighter over the cream and darker over the brown. |
 |
| Adding in the reds. |
 |
| The finished paint job. Now let them dry. |
 |
| I had outlines of the states enlarged at FedEx/Kinkos. |
 |
| I taped the outlines onto the board. |
 |
| I wanted all the nails 1cm apart so I took the ruler and marked 1cm intervals around each state. |
 |
| My mom hammering in the nails. We used two books to to keep the lines straight. |
 |
| My mom did most of the hammering for this project. She was determined! |
 |
| All in a row. |
 |
So along with hammering nails around the outline, you have to hammer in nails for the heart. Go to power point, choose a heart, set the outline to dashed and bump it up to 8 pt or more. This will give you a good basic guide.
|
 |
| I wanted the nails to be bronze. So while the paper was still on the board I spray painted the nails. |
 |
| Peel off the paper. |
 |
| The big reveal! Now start wrapping the yarn. |
 |
| To figure out how many border nails get wrapped to a heart nail, divide the number of nails around the border by the number of nails in the heart. This will give you a guideline. However I find it is more important, aesthetically, to make sure there is some kind of symmetry around the heart. |
 |
| At first there was one... |
 |
| Then there were two... |
 |
| And then there were three (finally)! |
As I mentioned before... totally could not have done this without help from my mom (thanks, mom!) and of course the brilliant idea from the original artist, Eleanor Mathis. Mine are no where near as wonderful and perfect as hers, but they will do. Especially since we are on a decorating budget. I made all three for less than $50.00.
I like having DIY art around the house. These will always remind me of the wonderful time I had with my mom when she came to visit us in our very first home.